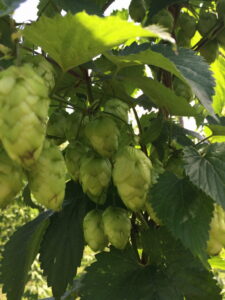
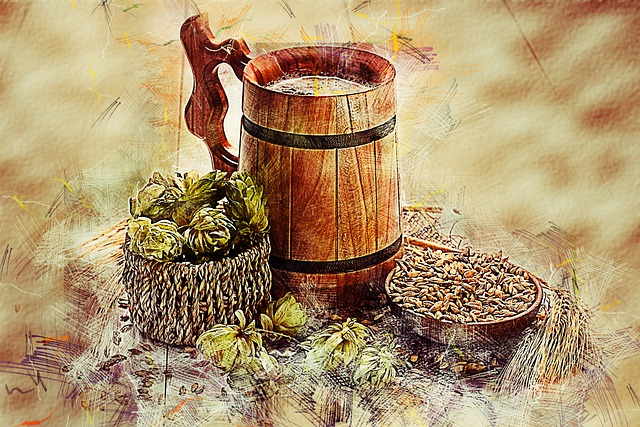
Bloomfield Hops for Flavour
Bloomfield Hops now has six varieties for the brewing wizard to conjure all manner of concoctions to cast spells for those who imbibe.
Hops (Humulus lupulus) are primarily used to add bittering, flavouring, and stability to your home brew. In addition to bitterness, they impart floral, fruity, or citrus flavours and aromas.
“Hops” refers to the cone-shaped flowers of the female (not male) hops plant. The plant is related to cannabis, but has none of the THC. Hops contain acids and oils that impart bitterness, flavor, and stability to the finished beer.
A hops cone contains 40 to 50% cellulose, 15% protein, and 10% water. The alpha acids, which can range from 2-20%, and the essential oils (about 0.5%) are important for making beer. The alpha acids provide the bitterness, while the oils help the aroma and flavor.
Alpha Acids and Oils
The oils in hops vary based on the variety brew hop. The amount of essential oils in each hop then depends on multiple other factors like climate, rainfall and temperature that change every season. The storage time befpre drying can make a huge difference. Myrcene is virtually always the most prominent oil in popular hops like Cascade and Simcoe and can be 50% or more of the total oil content.
There are almost 1000 different hydrocarbon compounds present in each cone but certain ones like Geraniol and Linalool are valued for their flavoring.
Hops are normally added while boiling in the brewing process. It takes about an hour before the “alpha” acids that provide the bitter and balance the sweetness of the malt for your craft beer. The length of boiling also effects the quality of the hops oils and the aroma they create. Longer boiling will increase the bitterness, while shorter boiling will result in more of the “fruity” flavouring. “Dry-hopping”, which is adding hops after boiling and during fermentation, is another way to affect the flavor.
IBU (or International Bittering Units) is one means by which a consumer can understandhow hops have been used for the brewing. The IBU measures the alpha acids present in the beer. So, for example, a typical lager for the US market has 5-10 IBUs and pale ales anywhere from 55-70 IBUs.
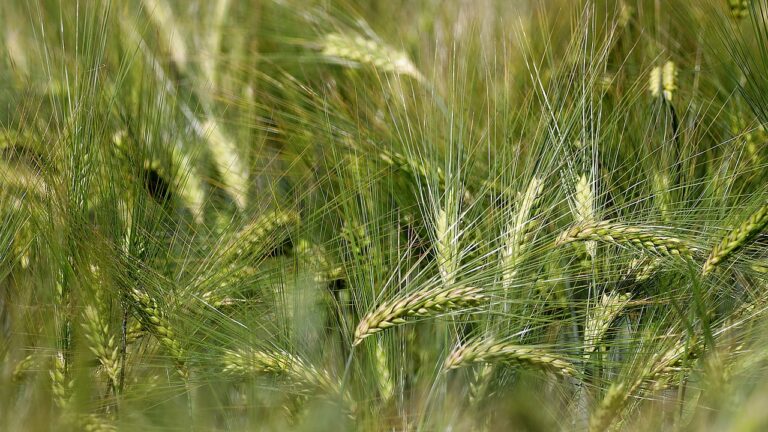
Malt Provides the Sugar (alcohol)
We employ the term “malt” for milkshakes and beer, so what does “malt” mean? A malt is any grain
Steeping
The grain is immersed in water a number of times over several days in order to increase the amount of moisture in the grain to about 45%. During this period, the grain starts to germinate and flower. All of the grain is evenly hydrated and showing signs of germination when the steeping process is complete.
Germination
The Germination phase lasts four to five days. Humidified air constantly flows through the grain at specific temperatures and the grain is regularly turned in order to promote oxygenation and a loosely packed bed of grain. The maltster changes the germination conditions according to the type of malt being manufactured.
Kilning
Kilning dries the grain and brings the moisture content to 3-5% and stops the germination. Hot air is blown through the grain bed. Changing the air flow and adjusting the kiln temperature creates malts with different colors and flavors. At the conclusion of kilning the brewer allows the malt to cool and removes the tiny rootlets from the grain.
Roasting
Roasting takes place in two stages. The average roasting time is 2.5 to 3 hours in temperatures up to 460˚C. The roasted malt then is placed in a cooler for 35 – 60 minutes in order to get the temperature to less than 15˚C and to set the color and flavor compounds. The malt, called the "wort" is then analyzed and stored.
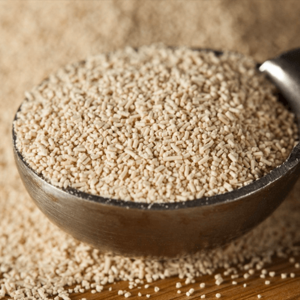
Yeast for the Fermentation
Fermentation is the process in which yeast is added to the “sugars” in the malt. The chemical reactions from the yeast create alcohol, carbon
There is an initial lag period where the yeast, oxygen, amino acids and minerals mix together. Then the yeast begins replicating and converting the sugars from the malt into alcohol, carbon dioxide and heat. A foamy head of proteins and sugars begins to form (called the Krausen), the C02 is released and the container gets warmer. Most of the alcohol and aroma for your DIY craft beer are created at this stage and can take several hours to four days.
The Krausen turns from a creamy white to yellow and brown from the hops resins and compounds after the sugars have been converted into alcohol. The yeast continues to absorb compounds from the sulphur compounds and higher alcohols that are not as pleasant. This may take three to 10 days.
The sediment will settle once fermentation is finished and the flavor of the beer will mature.
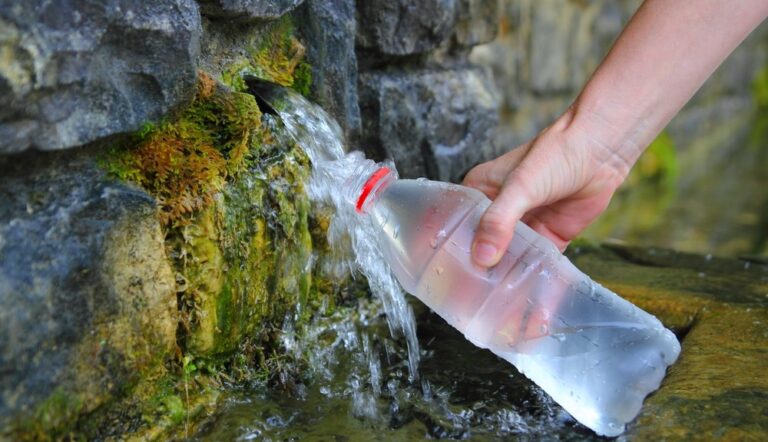
Water Completes Your
DIY Craft Beer
The water used to brew DIY craft beer affects the beer in three ways: a. the pH of the
In general, water for brewing beer should be clean and free of odors like chlorine or pond smells. Good water for creating the wort should be moderately hard with minerals and have low alkaline content, though it can depend on the type of craft beer you want to brew.
The common opinion is that the best craft beer is made from springwater since it tends to have less mineral content. This allows commercial brewers, in particular, to add mineral salts to their desired level.
Prepare Your Supplies
An aspiring brewing apprentice ensures you have all the supplies gathered along
Large aluminum pot 4+ gallon (like a lobster pot).
6 gallon plastic bucket that has a spigot - for sanitizing and bottling the finished craft brew.
6 gallon bucket for fermentation – comes with a lid that has a hole bored through to serve as an airlock to allow the carbon dioxide gas created from fermentation to escape.
One large metal spoon - to stir.
Airlock and stopper – for fermentation bucket.
Several smaller nylon bags - to add hops during the boil.
Racking cane or “auto-syphon” - to syphon the beer out of the fermentor. "Auto-syphons" are easier and contribute to better sanitation overall.
Food grade sanitizer – ensures everything is sterile. You want to eliminate any possible contaminants.
Hydrometer and hydrometer jar – measures the Specific Gravity (SG) of the concoction you are about to ferment and later is a means to know the Alcohol by Volume (ABV) brewed.
Waterproof thermometer that has a scale including 130*F-190*F – to regulate the brewing temperature as you toil over your cauldron.
Storage - Keg or Bottles (plus a bottle brush, bottle caps and a bottle capper.
Brew Your DIY Craft Beer
There is a learning curve for anyone aspiring to become a brewing wizard, so do not be discouraged if
There are three main methods used for home brewing to create the “wort”, which is the base for the beer. The easiest method uses extracts from the grains that yu can purchase, either in dry or liquid form, to form the base of the beer. With a little experience, you may want to try a partial mash, which is the use of extract along with some grain. All-grain brewing is the sign of a brewing wizard because you start with the grains yourself and create your own malt.
So, we have a basic brew recipe below, and you can begin to experiment with when to add the hops and other changes once you have the basics mastered.
1. Bring 2 gallons of water to a boil.
2. Stir in your malt extract by adding it small enough amounts to ensure the syrup does not stick to the side or bottom of the kettle. If the syrup burns against the kettle, it can cause metallic flavoring in the final beer.
3. When the syrup is stirred in, bring the water back to a boil. Add about half an ounce of hops and then boil for 55 minutes. The hops will cause a lot of foam due to the hydrocarbons and oils, so be ready to reduce the heat and stir with a metal spoon to avoid it boiling over.
Hops are a crucial ingredient in making home brew and can be added in different ways to influence the bitterness as well as the aromas. Hops also act as a preservative that protects your craft beer from bacteria and potential contaminants. The boil creates a robust environment in the wort for the fermentation to occur. There is a discussion about adding hops and dry-hopping in the section at the bottom.
4. Boil your brew for 55 minutes and then add 1 ½ ounces of hops. Boil your cauldron for 5 more minutes. Make sure to keep it from boiling over.
5. You need a container large enough to immerse the kettle into ice for an ice bath to bring the temperature down. There are also “wort chillers” that are sold for this purpose and offer more convenience.
6. Remove the kettle from the stove and immerse it in the ice bath or wort chiller.
7. While the wort cools, you can prepare for fermentation.
Ferment Your DIY Home Brew
Remember the importance of cleanliness! Make sure that every surface that the wort will touch has been cleaned as thoroughly as possible. You don’t
1. Pour the contents of the yeast pack into about 1 cup of room temperature water. (If using liquid yeast, read package instructions.) Brewing yeast is not the same as baking yeast. It is special for brewing beer and can come in dry or liquid form.
Dry Yeast is commonly used in beer kits. It should be at room temperature when added.
Liquid Yeast requires activation by shaking the container vigorously to reintroduce ogygen to the wort that was removed during the boiling.
2. Pour 3 gallons of cool spring water into the fermenter.
3. Now use the funnel to pour the wort into the vessel for fermentation. Shake everything or use the sanitized metal spoon to mix the cool water and wort together. The mixing helps to activate the hydrocarbons in the wort, which helps the yeast ferment.
4. After the water has been added and stirred you can take the first gravity measurement by using a hydrometer. The reading provides the wort’s specific original gravity (OG), which is the density of the wort compared to the density of water. Checking the gravity measurement of your wort ensures that you had a successful fermentation and provides the basis to calculate your craft beer’s alcohol content by volume (or “ABV”).
5. Add the yeast. Sprinkle it across the surface of the wort. This called “pitching” the yeast.
6. Seal the fermenter with an air tight lid. Make sure to sanitize the air lock before attaching it to the fermenter. Store the fermenter in a dark room where the temperature is ideally 68°F.
7. The initial lag period may last a number of hours, but before long you will hear constant bubbling from the airlock. The carbon dioxide created in fermenting your home brew has to escape. The bubbling lasts for five days to a week and then calms down. You should wait about another week for the beer to clear before bottling.
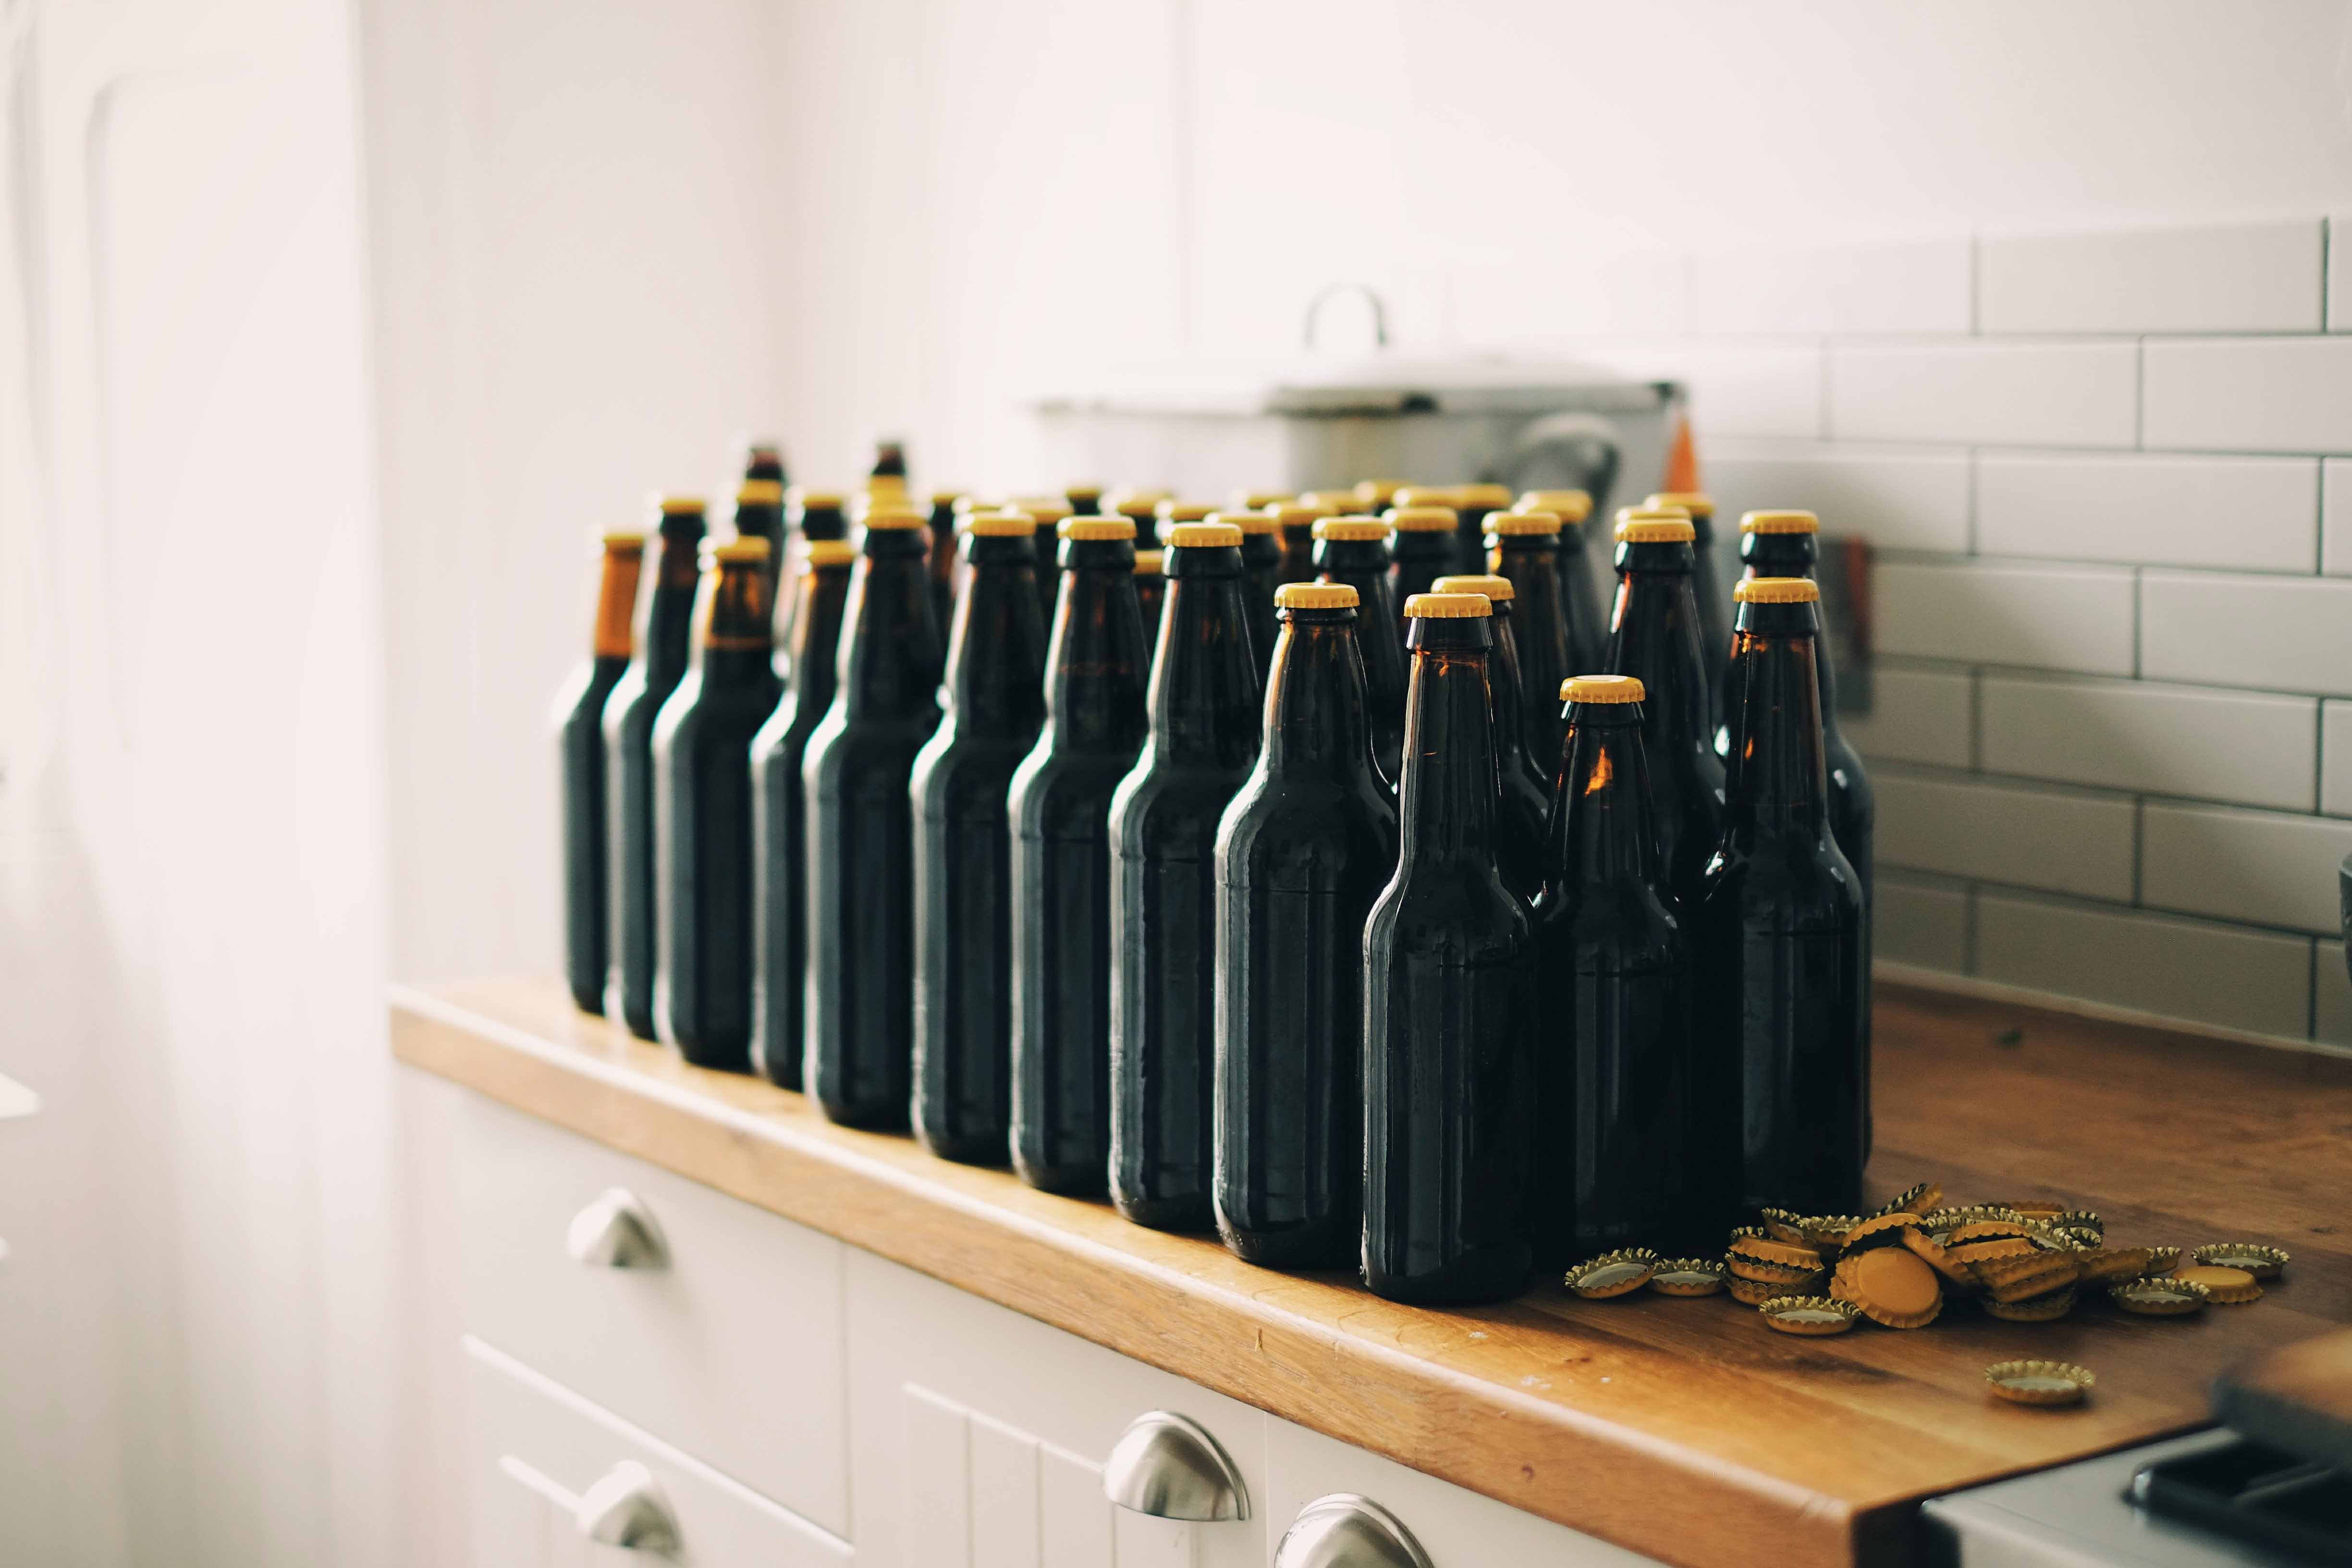
Bottle Your Beer!
When your beer has had ample time for fermentation and before bottling, you can take the final gravity reading, or “FG”, in order to determine the ABV.
Remember to thoroughly sanitize the bottles by immersing them in the sanitizing solution so the water gets inside of the bottles for an hour. Sanitize your bucket for bottling, a siphon and a racking cane if the bottling bucket and fermenter do not have spouts.
1. Boil 1 cup of water in a saucepan. Add the 4 oz. of sugar and boil for 5 another minutes. Pour the mixture in the bucket for bottling. Too much sugar could result in too much carbon dioxide (CO2) and cause the bottle to explode . . . so, measure well. If you are using a keg, you don't use sugar since the keg will use CO2 spearately to create the foamy head.
2. Put the fermenter full of home brew on a counter and place the bucket for bottling below it on the floor.
3. If your fermenter and bottling bucket have spouts:
a. Attach a sanitized tube to the spout on the fermenter and run the wort into the bottling bucket to combine with the sugar solution. Avoid splashing it in. Allow it to run at an even pace.
b. Detach the tube in order to sanitize it again. You can now attach the tube to the bucket for bottling.
c. Put the bottling bucket on a counter or hard surface and the other end of the tube into a bottle that has been sanitized. Pour the beer out of the spout into the bottle and fill it to ¾ of an inch from the top. Use the caper to cap the bottle and ake sure it is sealed securely.
d. Repeat for each bottle until the beer is bottled.
4. If your fermenter and bottling bucket do not have spouts:
a. Fill the siphon with water to prepare it for use. Then, attach the racking cane to the siphon. Make sure that you pinch both ends of the siphon to prevent any water from spilling out. Put one end of the racking cane and siphon into a solution of sanitizer and the other end into an empty jar. In this way, the solution can run through the siphon and expell all the water into the jar. Pinch both ends of the siphon and allow the sanitizer to remain in the siphon for 5 minutes in order to re-sanitize the siphon. DO NOT blow into the siphon with your mouth
b. Place one end of the siphon into the fermenter and the other into the jar. As soon as the craft beer begins flowing through the siphon, move the end of the siphon to the bucket for bottling. Ensure that the beer runs smoothly without splashing by using your fingers (or a special clamp) to pinch and release the siphon.
c. Put the bottling bucket up on the counter. Now, attach the siphon to the bucket and the other end into a bottle to fill to with beer to 3/4 of an inch from the top. Make sure to seal each bottle securely.
d. Repeat for each bottle until the beer is bottled.
5. Store in a cool place for up to 14 days.
6. Congratulations Brewing Wizard! Refrigerate and drink your home brew.